Published: Jun 5, 2023
Logging in to a web site is what users do quite a lot. Suppose it is a blog site. Once a user completes a log-in process, the user is allowed to create a new post, update contents and delete a post. The blog site might have a feature to leave comments by logged in users.
The login process is categorized roughly two types: use the login feature implemented in the web site or the social login such as Twitter, GitHub, Google, etc. For a Rails app, implementing a local login feature is not difficult since it can use an established gem called devise. The Rails app has a choice to use a gem called OmniAuth for the social login if the front-end is a legacy, server rendered app.
However, we see a lot of rich clients built by ReactJS, Angular, Vue.js or such. The client app is, sometime, called SPA (Single-Page Application). Such sort of client app initiates the login process itself. The social login becomes complicated. The problem of the social login by SPA is that the app ends up revealing a social login secret parameter.
The Authorization Code Flow, which is a commonly used grant type defined in OAuth2, uses the client id and client secret provided by the authorization endpoint (Twitter, GitHub, Google, etc). From a nature of JavaScript code, the client secret is mixed in to a bundled JavaScript code as is. It might be minified, so very hard to find. Even though, a reverse engineering would identify the client secret.
To solve such potentially risky issue, the Authorization Code Flow had an extension called Proof Key for Code Exchange. In short, it is referred as PKCE (pronounced “pixy”). The PKCE uses a code verifier and code challenge instead of the client secret on the client app side. The code verifier is a randomly generated string, while the code challenge is generated by a specified algorithm using the code verifier as a seed. During multiple interactions with the authorization endpoint, one of code challenge or code verifier is used in a single interaction. The client secret is still used on the server app side. However, the server app can easily protect such secret parameters.
This way, SPA can perform a secure social login.
How Authorization Code Flow with Proof Key for Code Exchange (PKCE) Works
The flow is complicated. Multiple actors are involved in. To make it clear, let’s start off from who are those actors.
Actors
The actors involved in the PKCE are below:
- User: human, who wants to be authenticated by a social login.
- SPA: client side app.
- Rails: server side app.
- Auth Endpoint: social login such as Twitter, GitHub, Google, etc.
PKCE Flow
With above actors, the PKCE flow in this example works like below:
- SPA to User: show Login Button which is a link to social login with code challenge and client id
- User to Auth Endpoint: click the button
- Auth Endpoint to User: show the login page if the user is not logged in
- User to Auth Endpoint: input username (or email, phone number, etc) and password, then click a login button
- Auth Endpoint to User: show the Authorize app button with the information about Rails app
- User to Auth Endpoint: click the Authorize app button
- Auth Endpoint to Rails: redirect to Rails app with a code parameter
- Rails to Auth Endpoint: make a request to get an access token with the code parameter, code verifier, client id/secret
- Auth Endpoint to Rails: return the access token
- Rails to Auth Endpoint: make a request to get a user profile with the access token
- Rails to SPA: redirect to SPA’s page with the access token
- SPA to Rails: make a request to know who is the user with the access token
- Rails to SPA: return the user profile
- SPA to User: show the user profile
Example Application
Versions:
- Ruby: 3.2.2
- Rails: 7.0.5
Source Code:
Since we learned the basic idea about PKCE, it’s time to implement. For an example application, the client app is created by ReactJS (TypeScript), Redux Toolkit and Chakra UI. The server side is created by Ruby on Rails with esbuild setup.
Although ReactJS and Rails have libraries for PKCE, the example app implements the flow from scratch. It is a good way to understand how PKCE works.
For details about creating Rails and ReactJS apps with esbuild setting, please see the previous post: Rails 7 React/Redux Development with esbuild.
Setup Twitter Social Login
The example app uses Twitter OAuth2 login. Go to Twitter’s Developer Portal and create an app. The Callback URI / Redirect URL should have “www” in the URL. This example sets “http://www.localhost:3000/oauth/twitter” for the redirect URL.
Server App
The first step is to create Rails app. Then, add the faraday gem to make HTTP request to the authorization endpoint. Also, add the jwt gem to sign the access token with some more additional info.
% rails new [APP NAME] -j esbuild -T
% cd [APP NAME]
% bundle add faraday
% bundle add jwt
Create a user model.
% rails g model User username:string name:string provider:integer pid:string
% rails db:migrate
The provider here means how the user is authenticated. It is an enum field, so the data type is integer. The pid is an id returned from the authorization endpoint. This example app treats username as a unique field, so it needs additional migration.
% rails g migration add_index_to_users_username
Edit, db/migrate/[DATE TIME]_add_index_to_users_username.rb
# db/migrate/[DATE TIME]_add_index_to_users_username.rb

class AddIndexToUsersUsername < ActiveRecord::Migration[7.0]
  def change
    add_index :users, :username, unique: true
  end
end
Then, run
% rails db:migrate
Edit, app/models/user.rb to define the provider enum type and add the username constraint of uniqueness.
# app/models/user.rb

class User < ApplicationRecord
  enum provider: [:local, :twitter]

  validates :username, uniqueness: true
end
Coming to a controller part, the first one is to create an entry point for the client app.
% rails g stimulus client
Create another controller to mount the client app.
% rails g controller pages home
Edit app/views/pages/home.html.erb to add the div tag with id=root as the mount point.
<%# app/views/pages/home.html.erb %>

<h1>Pages#home</h1>
<p>Find me in app/views/pages/home.html.erb</p>
<%= content_tag(:div, "", id:"root", data:{ controller: "client" }) %>
Edit config/routes.rb to make the pages#home to the root route.
# config/routes.rb

Rails.application.routes.draw do
  root 'pages#home'
end
Create a controller for the redirect URL. The URL should be “http://www.localhost:3000/oauth/twitter” as it is set at Twitter Developer Portal.
% rails g controller oauth twitter --skip-template-engine
The oauth controller will have a core logic explained in the PKCE Flow section. Among the steps, the oauth controller does step from 7 to 11. Let’s get back for the PKCE implementation later.
Lastly, create a controller for the me query. The me query is used to fetch the profile of the currently authenticated user.
% rails g controller me --skip-template-engine
The controller implementation will be discussed later, so for now, add profile method to create a route.
# app/controllers/me_controller.rb

class MeController < ApplicationController
  def profile
  end
end
Edit config/routes.rb to create a path to the me query.
# config/routes.rb

Rails.application.routes.draw do
  get 'oauth/twitter'
  root 'pages#home'
  get 'me', action: :profile, controller: 'me'
end
Client App
The client app takes a typical Redux Toolkit directory structure described below:
app/javascript
├── App.tsx
├── app
│   ├── hooks.ts
│   └── store.ts
├── application.js
├── controllers
│   ├── application.js
│   ├── client_controller.js
│   └── index.js
├── features
│   ├── auth
│   │   └── authSlice.ts
│   └── twitter
│       ├── TwitterLogin.tsx
│       ├── TwitterProfile.tsx
│       └── twitterSlice.ts
└── utils
    ├── hashUtils.ts
    └── twitterOauthConfig.ts

7 directories, 13 files
Environment Variable Setup
This is a setup for environment variables for SPA. In general, the dotenv is used for such purpose. However, for SPA, the dotenv is quite hard stuff to setup also not meaningful. Since the files for the app are bundled in a single JavaScript (and stylesheets), it depends on the build tool how the dotenv is looked up. Additionally, the content in dotenv will be hardcoded in the built JavaScript file.
For an alternative way, this example app uses settings.js file which is put in the directory where the Rails asset pipeline sees.
Create app/assets/javascripts/settings.js and write your twitter app’s client id:
// app/assets/javascripts/settings.js

var environment = {
  "REACT_APP_TWITTER_CLIENT_ID": "YOUR-CLIENT-ID-HERE",
}
Add javascripts directory in app/assets/config/manifest.js as in the last line below:
//= link_tree ../images
//= link_directory ../stylesheets .css
//= link_tree ../builds
//= link_directory ../javascripts .js
Lastly, add javascript tag in app/views/layouts/application.html.erb. The tag should come before application.js since the variables defined in settings.js will be referenced in application.js.
<%# app/views/layouts/application.html.erb %>

...
<head>
    <title>TwitterOauthPkceExample</title>
    <meta name="viewport" content="width=device-width,initial-scale=1">
    <%= csrf_meta_tags %>
    <%= csp_meta_tag %>

    <%= stylesheet_link_tag "application", "data-turbo-track": "reload" %>
    <%= javascript_include_tag "settings", "data-turbo-track": "reload", defer: true %>
    <%= javascript_include_tag "application", "data-turbo-track": "reload", defer: true %>
  </head>
...
Install Packages
At Rails app’s root directory, run yarn add command to install packages.
% yarn add react react-dom
% yarn add typescript @types/node @types/react @types/react-dom
% yarn add react-redux @reduxjs/toolkit
% yarn add @chakra-ui/react @emotion/react @emotion/styled framer-motion
Login Button
The first step of the PKCE is to show the login button which has a link to the authorization endpoint with necessary info.
// app/javascript/features/twitter/TwitterLogin.tsx

...
return (
  <VStack spacing="4">
    {!isLoggedIn &&
      <Button
        colorScheme='blue'
        aria-label="Log in using OAuth 2.0"
        onClick={() => window.open(getTwitterOauthUrl(), '_self')}
      >
        Log in with Twitter
      </Button>
    }
    {isLoggedIn &&
      <Text>
        Token expiry date: {tokenExpiryDate}
      </Text>
    }
  </VStack>
);
...
The link url is created in the function defined in twitterOauthConfig.ts. The code challenge is hardcoded in this example app. In the real world, it should be generated by a specified algorithm.
// app/javascript/utils/twitterOauthConfig.ts

const authEndpoint = 'https://twitter.com/i/oauth2/authorize';

const client_id = environment.REACT_APP_TWITTER_CLIENT_ID;
const redirect_uri = "http://www.localhost:3000/oauth/twitter";

export const getTwitterOauthUrl = (): string => {
  // temporarily uses static code verifier and challenge
  let code_challenge = "WeI7ul0uzUr0Zv89EPknzv4iNqmQuEysEtkWan7P3FA";
  let state = "state";
  let scope = ["users.read", "tweet.read", "follows.read", "follows.write"].join(" ");
  // @ts-ignore
  let args = new URLSearchParams({
    redirect_uri,
    client_id,
    state,
    response_type: 'code',
    code_challenge,
    code_challenge_method: "S256",
    scope,
  }).toString();
  return `${authEndpoint}?${args}`;
}
The button looks like below:
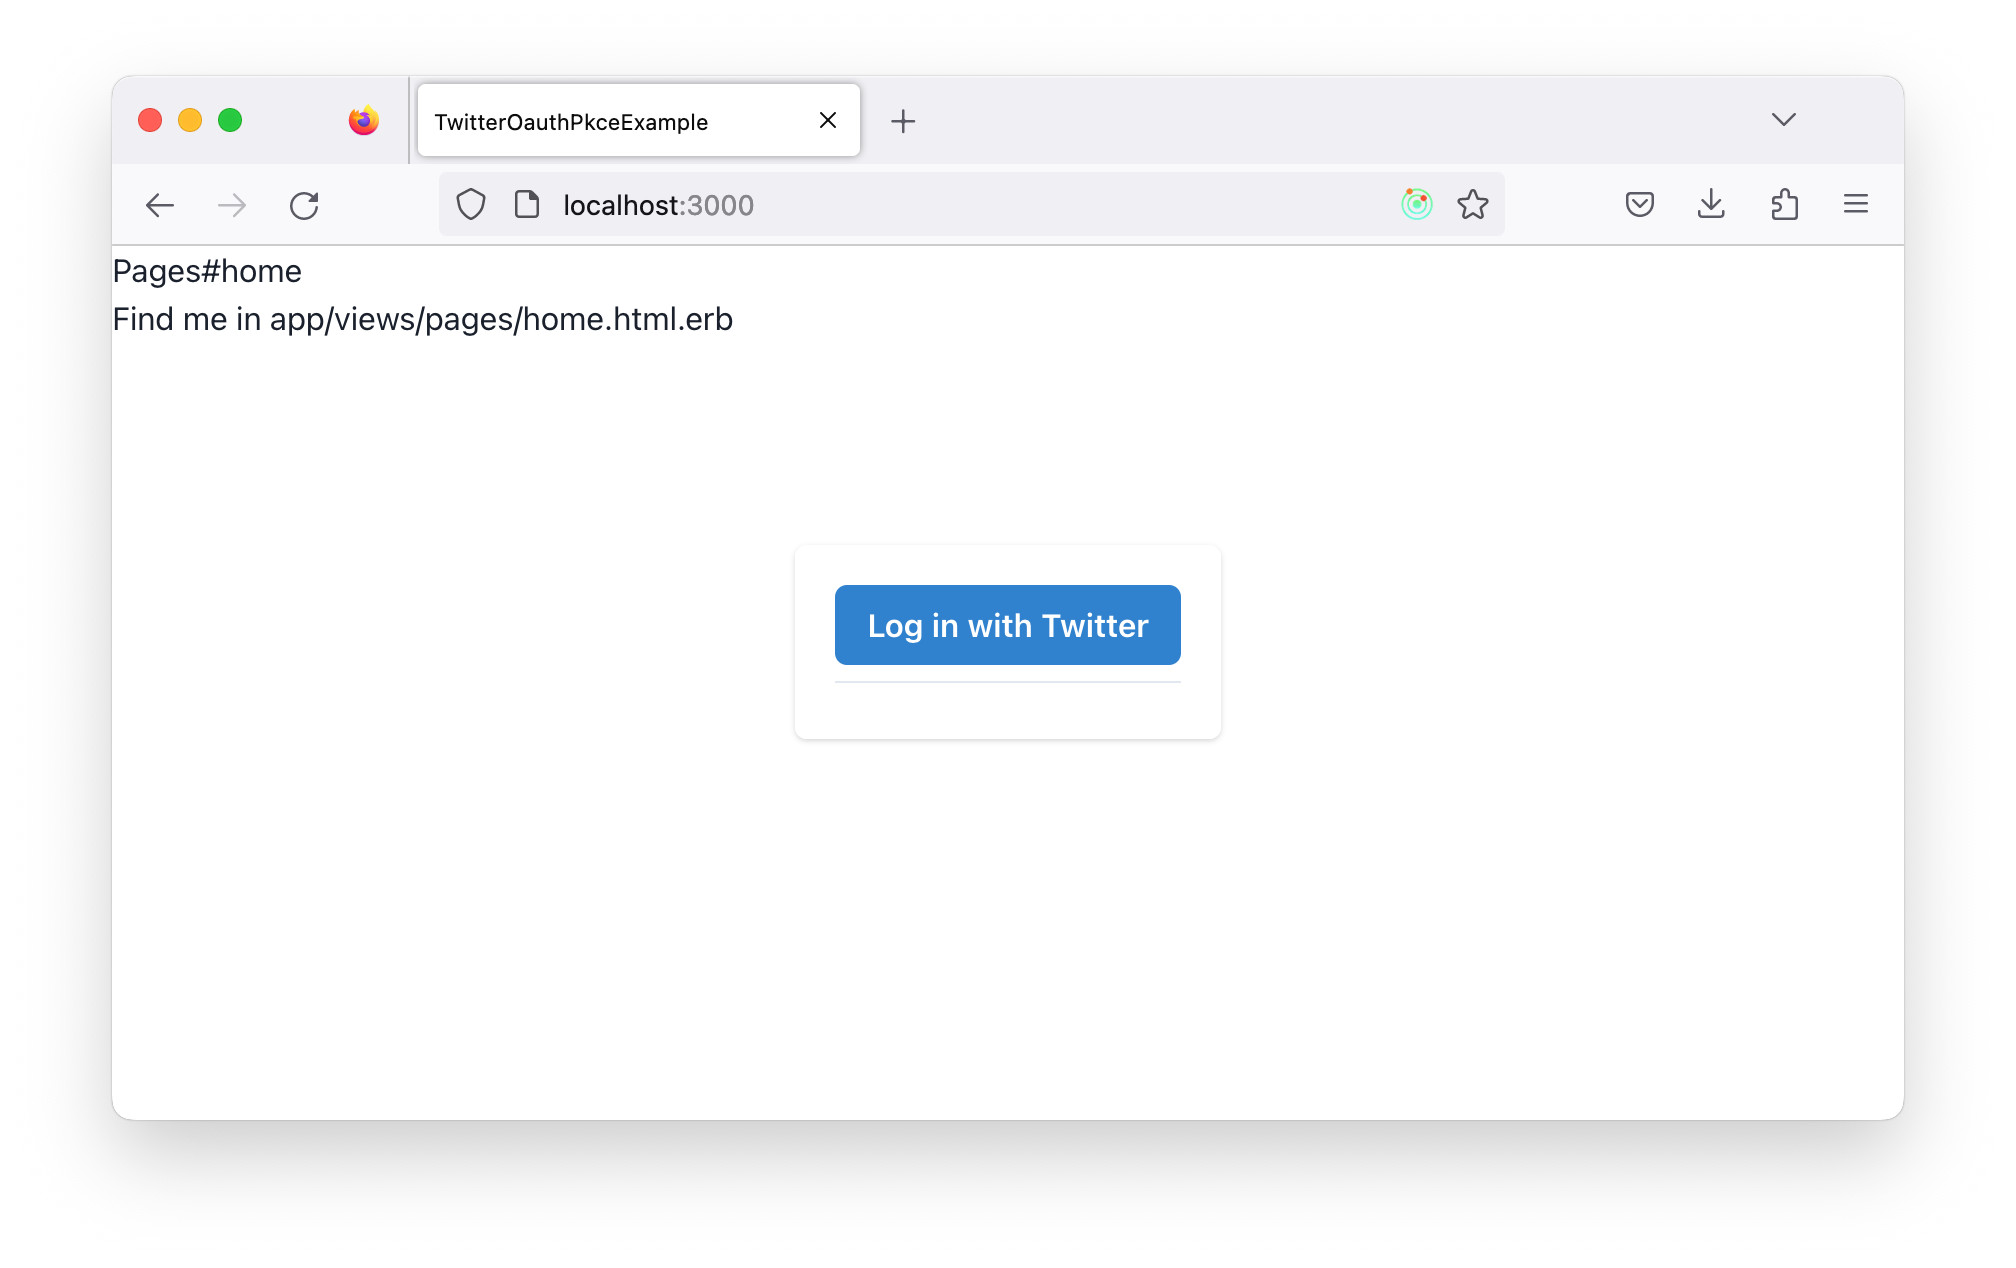
When a user (human) clicks the button, Twitter navigates to the login page if the user has not yet logged in. If the user is already logged in, this step is skipped.

After the successful login, Twitter shows the authorize app page.
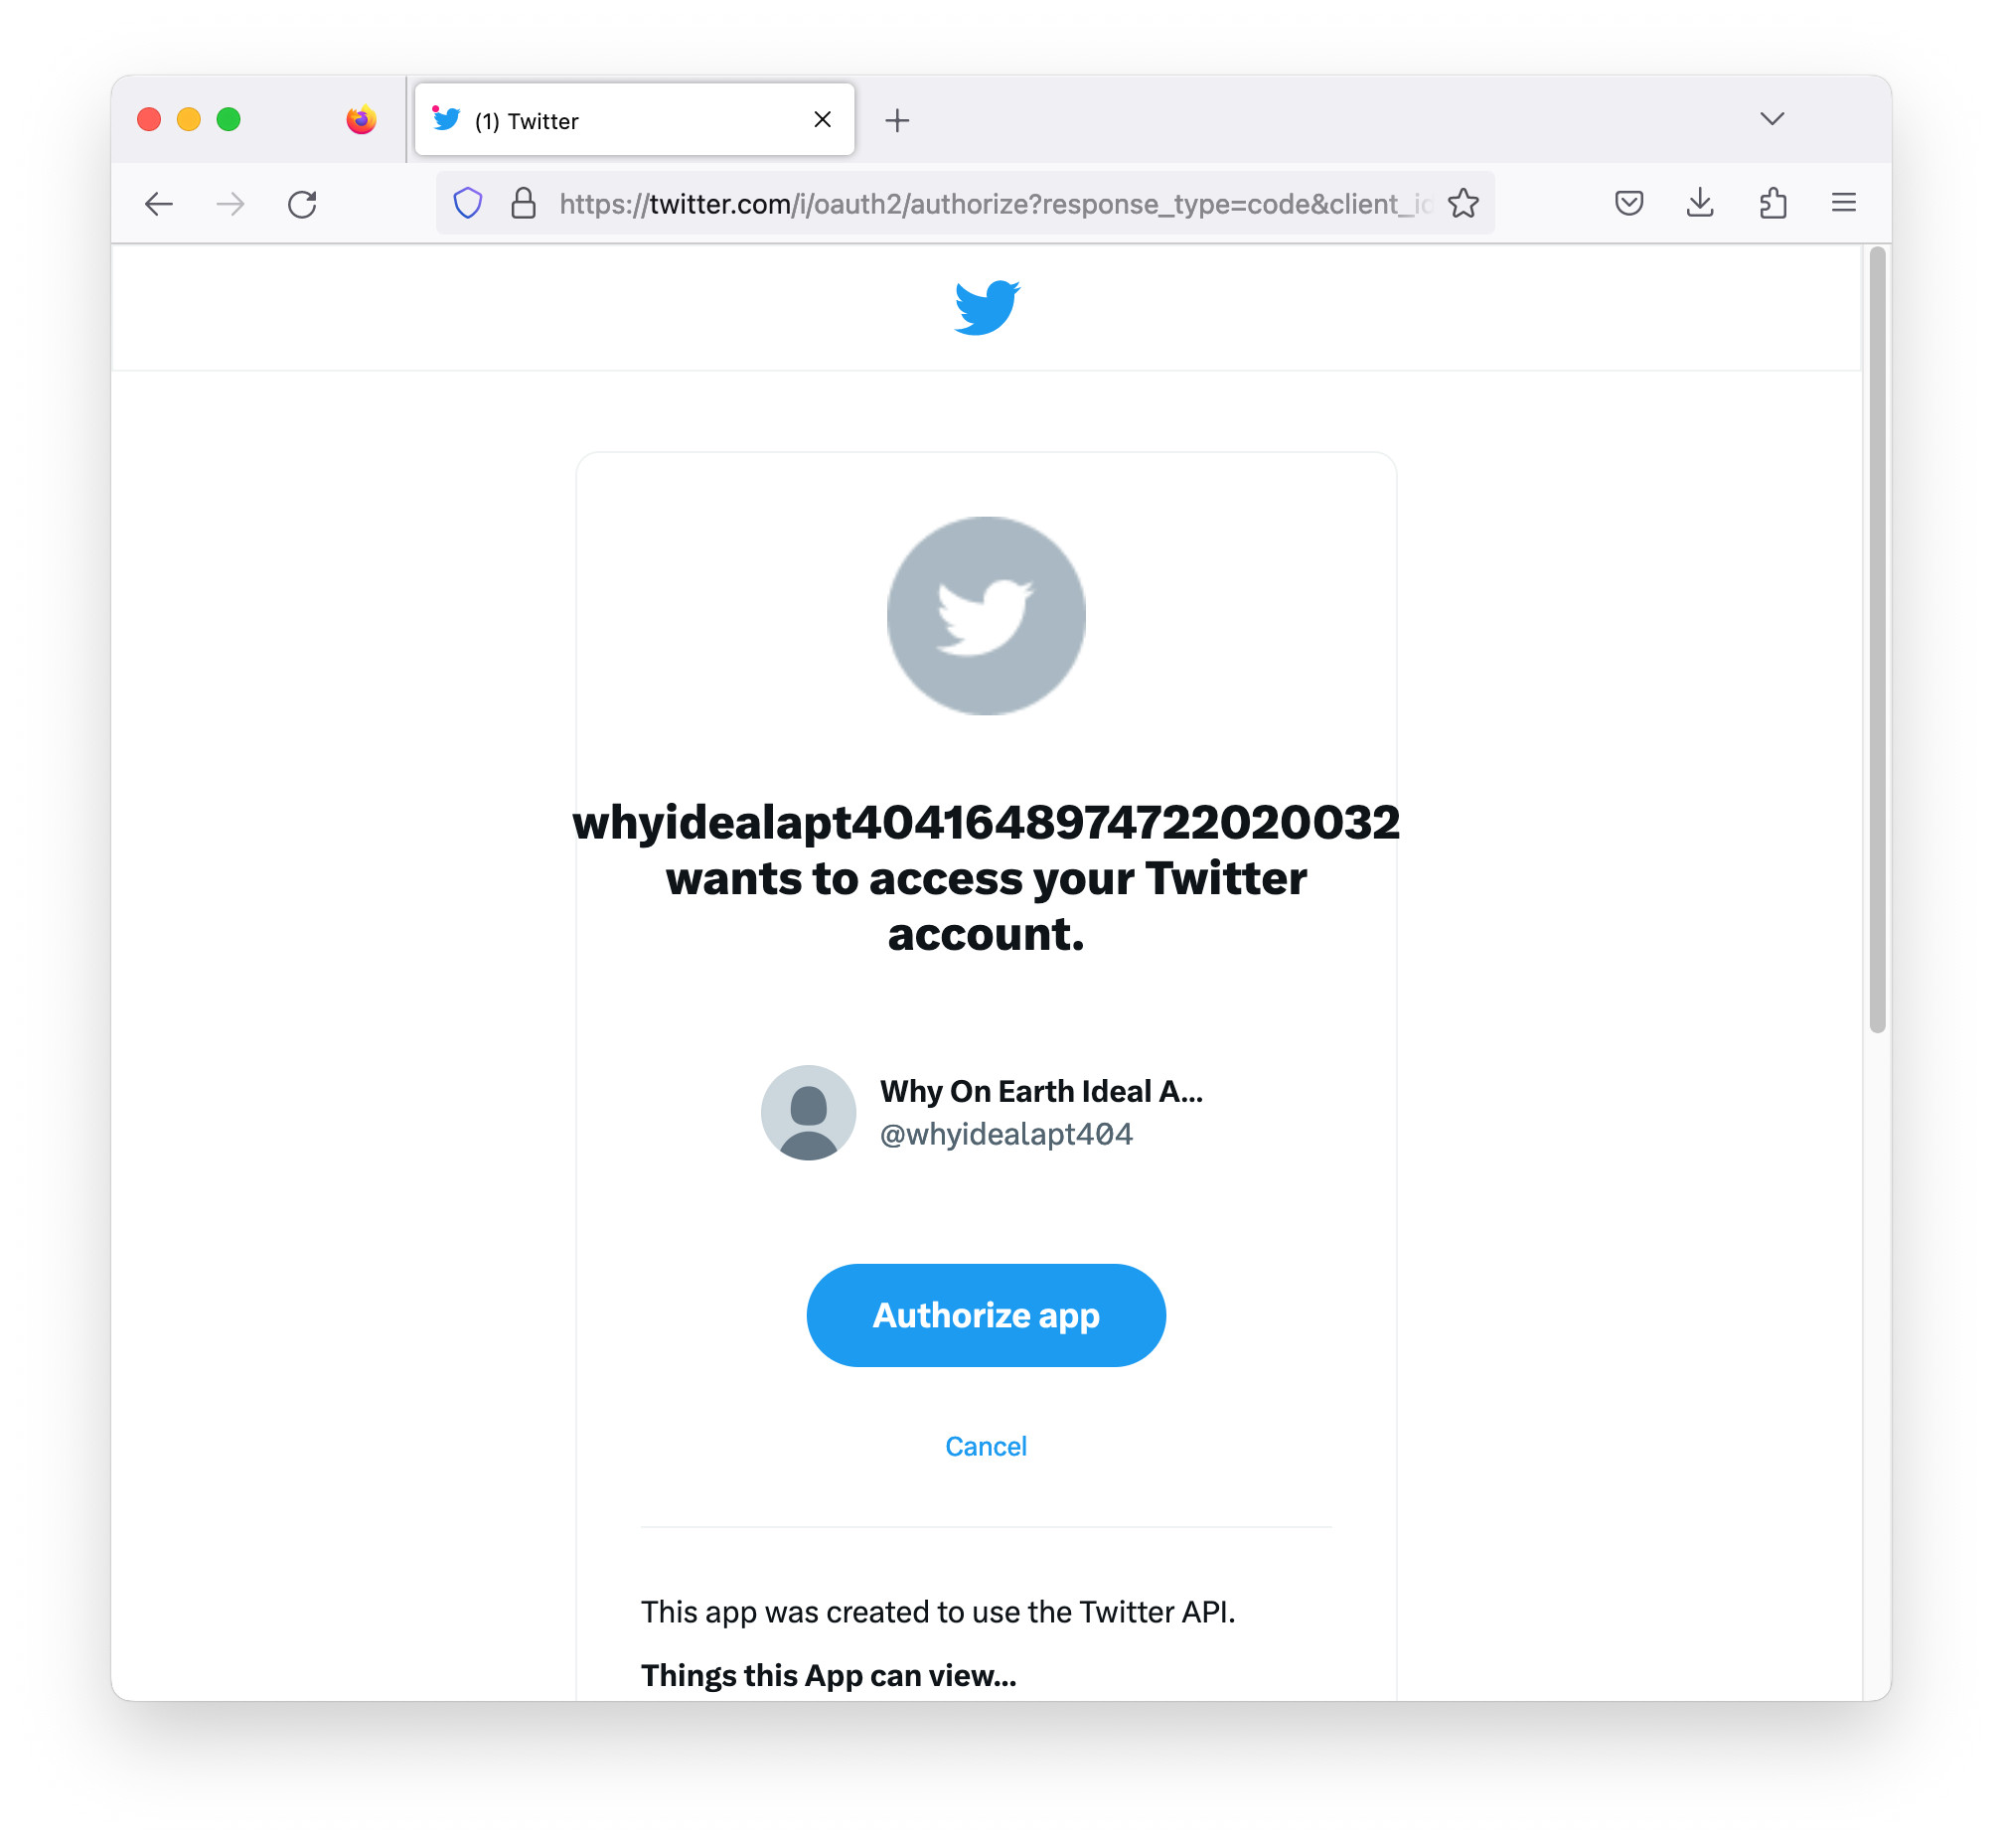
When the user clicks the Authorize app button, Twitter redirects to the given redirect URI with the code as the URL parameter.
Up here, PKCE flow’s 1 to 6 steps are completed.
User Profile
Let’s assume the server side app successfully gets the access token and the user profile from Twitter. What the server app does at this point is to redirect back to the client app. The example here sends back access_token and token expiry as URL parameters. Those parameters are handled by TwitterLogin.tsx and hashUtils.ts.
// app/javascript/features/twitter/TwitterLogin.tsx
...
const { access_token, expires_in } = getOAuthParams();
removeHashParamsFromUrl();
...
useEffect(() => {
  if (access_token) {
    dispatch(setLoggedIn(true));
    dispatch(setAccessToken(access_token));
    dispatch(setTokenExpiryDate(Number(expires_in)));
    dispatch(setUserProfileAsync(access_token));
  }
}, [])
...
// app/javascript/utils/hashUtils.ts
export const getOAuthParams = () => {
  const urlParams = new URLSearchParams(window.location.search);
  return {
    access_token: urlParams.get('access_token'),
    expires_in: urlParams.get('expires_in'),
  };
}

export const removeHashParamsFromUrl = () => {
  window.history.pushState("", document.title, window.location.pathname);
}
The last line in useEffect function, dispatch(setUserProfileAsync(access_token));, triggers the me query.
The function is defined in twitterSlice.ts.
// app/javascript/features/twitter/twitterSlice.ts
...
export const setUserProfileAsync = (accessToken: string): AppThunk => dispatch => {
  fetch('http://www.localhost:3000/me', {
    method: 'GET',
    headers: {
      Authorization: 'Bearer ' + accessToken,
    },
  }).then(response => response.json())
    .then((data) => {
      dispatch(setLoggedIn(true));
      dispatch(setName(data.name ? data.name : data.id));
      dispatch(setUsername(data.username));
    }).catch((error) => {
    console.log(error);
    if (error instanceof XMLHttpRequest) {
      if (error.status === 401) {
        dispatch(setLoggedIn(false));
      }
    }
  });
};
...
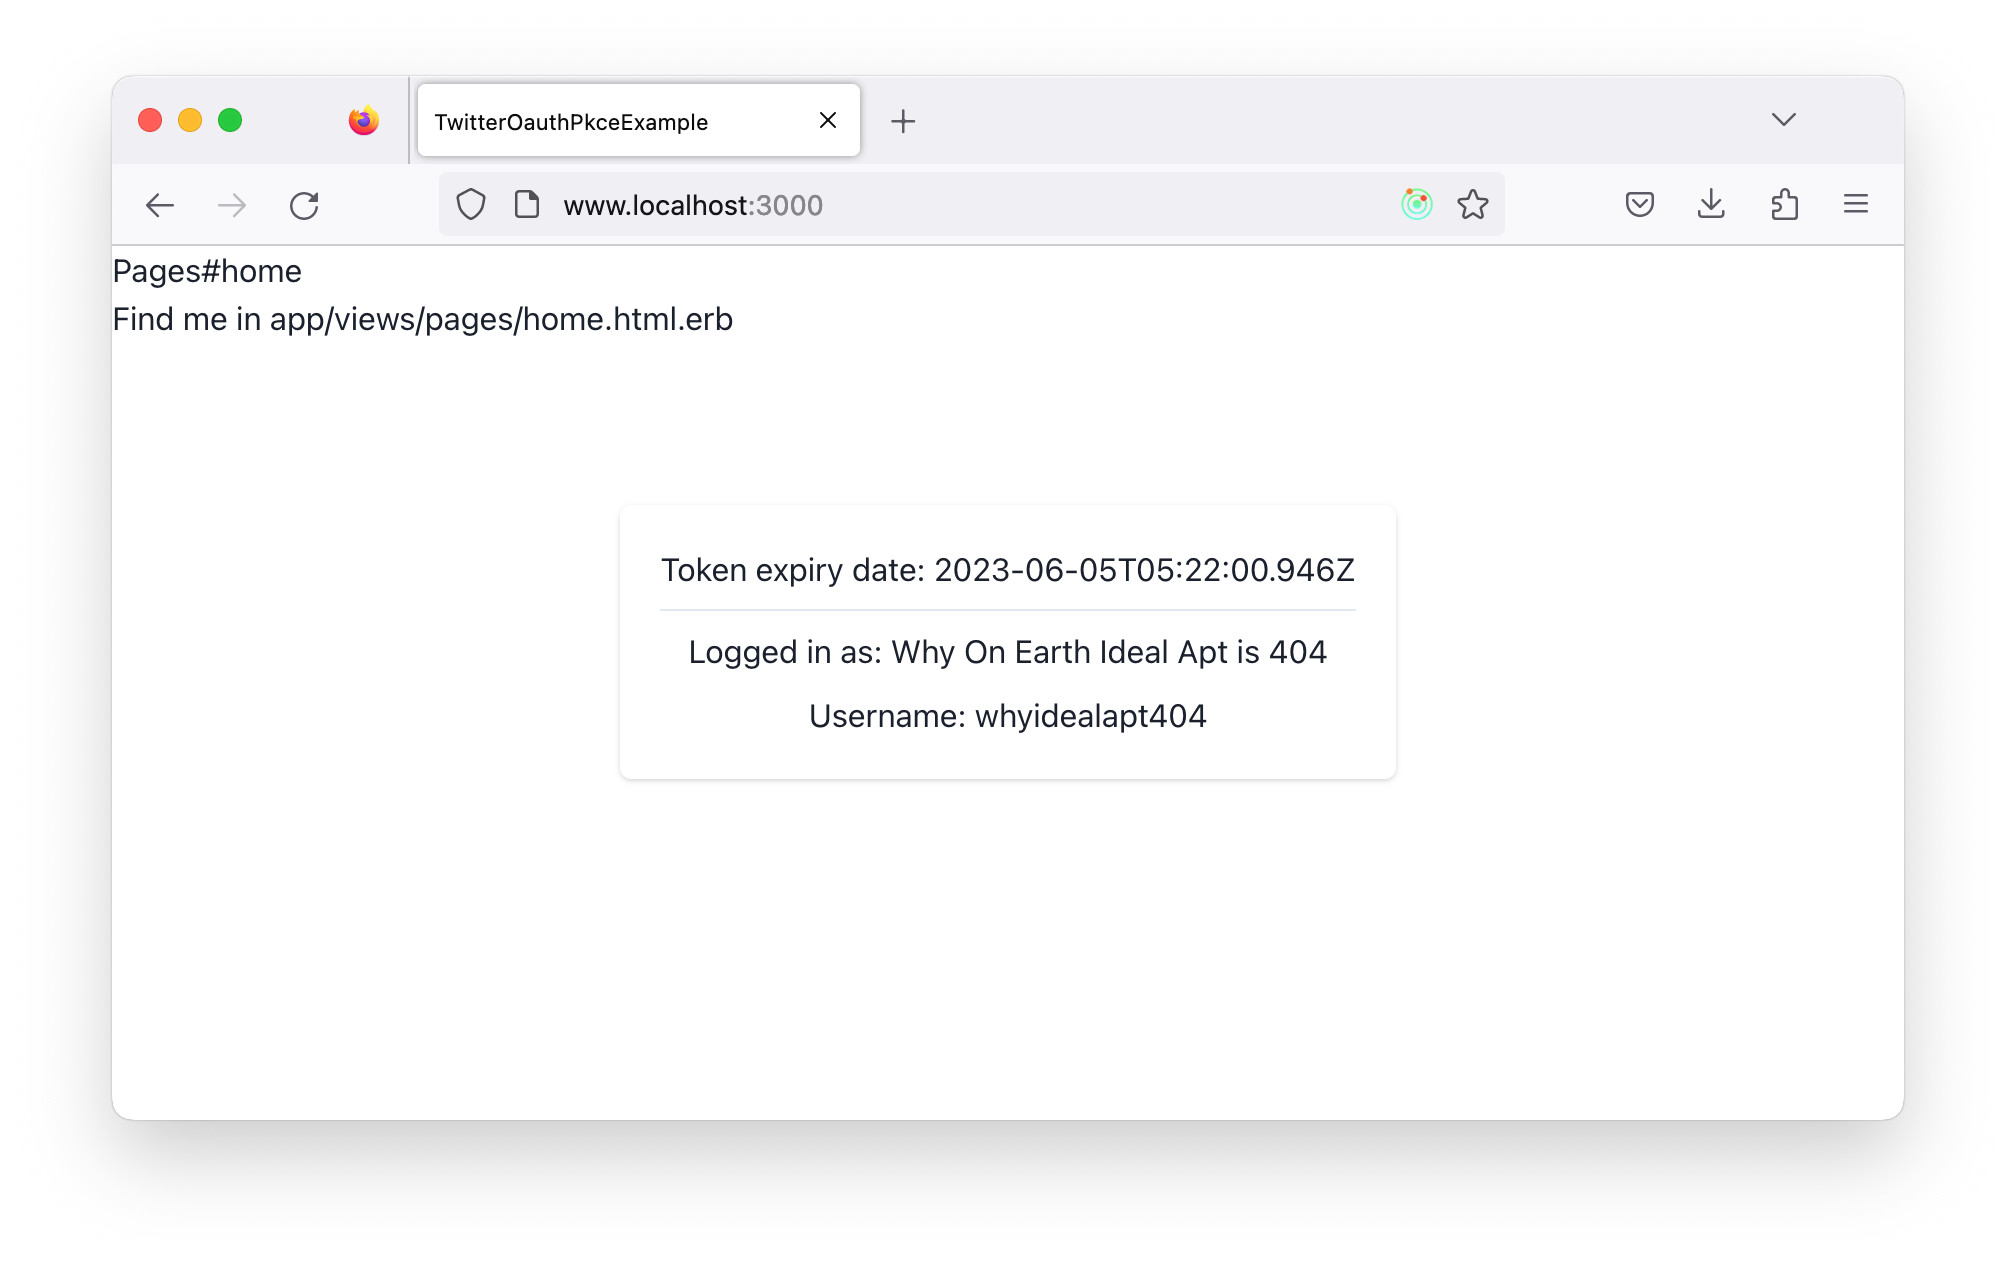
The client app returns the access token as is in the Authorization header. This is the step 12 of the PKCE flow. When the server app returns the user profile, that will be rendered in TwitterProfile.tsx. By that, the last step, 14, of the PKCE flow completes.
// app/javascript/features/twitter/TwitterProfile.tsx

...
export function TwitterProfile() {
  const name = useSelector(selectName);
  const username = useSelector(selectUsername);

  return (
    <VStack>
      {name &&
        <Box>
          <Text>Logged in as: {name}</Text>
        </Box>}
      {username &&
        <Box>
          <Text>Username: {username}</Text>
        </Box>
      }
      </VStack>
  );
}
...
Core Logic on the Server Side App
Setup Secrets
The controllers needs some secret parameters. Before going to the controller details, setup those parameters. Choose your favorite editor, for example, EDITOR=”code –wait”. The vim is the choice here.
% EDITOR=vim rails credentials:edit
Write your JWT secret, Twitter app’s client id and client secret in the format below:
jwt_secret: YOUR-JWT-SECRET-HERE
twitter:
  client_id: YOUR-TWITTER-APP-CLIENT-ID-HERE
  client_secret: YOUR-TWITTER-APP-CLIENT-SECRET-HERE
OauthController Details
The OauthController performs the PKCE flow’s step from 7 to 11. The authentication request made by the client app ends up coming to the redirect uri, http://www.localhost:3000/oauth/twitter with the code as a URL parameter. The controller gets the code, then makes a request to the Twitter access token endpoint with the code and other parameters.
// app/controllers/oauth_controller.rb

...
    def twitter
        client_id = Rails.application.credentials.twitter.client_id.strip
        client_secret = Rails.application.credentials.twitter.client_secret.strip
        oauthTokenParams = {
          redirect_uri: 'http://www.localhost:3000/oauth/twitter',
          code: params[:code]
        }
        access_token, expires_in = getOAuthToken("https://api.twitter.com", "/2/oauth2/token",
                                                 client_id, client_secret,
                                                 oauthTokenParams)
        ...
    end
...
    def getBasicAuthToken(client_id, client_secret)
      Base64.strict_encode64("#{client_id}:#{client_secret}")
    end

    def getOAuthToken(url, path, client_id, client_secret, oauth_token_params)
      oauth_token_params = oauth_token_params.merge({
                                                      grant_type: 'authorization_code',
                                                      client_id: client_id,
                                                      code_verifier: CODE_VERIFIER
                                                    }))
      conn = Faraday.new(
        url: url,
        headers: {
          'Content-Type' => 'application/x-www-form-urlencoded',
          'Authorization' => "Basic #{getBasicAuthToken(client_id, client_secret)}"
        }
      )
      response = conn.post(path, URI.encode_www_form(oauth_token_params))
      body_obj = JSON.parse(response.body)
      [body_obj['access_token'], body_obj['expires_in']]
    end
...
Once the access token is successfully returned from Twitter, the next step is to get a user profile. The me query to Twitter does the job. The access token is set in the Authorization header to make the me query.
// app/controllers/oauth_controller.rb

def twitter
    ...
    data = getUser("https://api.twitter.com", "/2/users/me", access_token)
    ...
end
...
def getUser(url, path, access_token)
    conn = Faraday.new(
      url: url,
      headers: {
        'Content-Type' => 'application/x-www-form-urlencoded',
        'Authorization' => "Bearer #{access_token}"
      }
    )
    response = conn.get(path)
    body_obj = JSON.parse(response.body)
    body_obj['data']
end
...
After the server side app gets the user profile, the user is either created on or retrieved from a local database.
// app/controllers/oauth_controller.rb

def twitter
  ...
  user = getUserFromDb(
    {
      username: data['username'],
      name: data['name'],
      provider: User.providers[:twitter],
      pid: data['id']
    }
  )
  ...
end
Almost there. The following step is to sign access token and user info. This example app uses user’s username and name with the access token.
// app/controllers/oauth_controller.rb

def twitter
  ...
  signedToken = getSignedToken(access_token, user)
  ...
end
...
def getSignedToken(access_token, user)
  JWT.encode(
    {
      username: user.username,
      provider: user.provider,
      accessToken: access_token
    },
    Rails.application.credentials.jwt_secret,
    'HS256'
  )
end
Finally, the controller redirects back to the client app with the signed access token and token’s expiry.
// app/controllers/oauth_controller.rb

def twitter
  ...
  redirect_to(root_path(access_token: signedToken, expires_in: expires_in))
end
MeController Details
The MeController gets signed access token from the Authorization header which is sent back by the client app. Then, the token is decoded using the same JWT secret. The decoded token has the user info which can be verified to make a query to the local database. The result of the database query is returned to the client app.
The example app skips the access token validity check since it focuses on the PKCE flow only. However, in a real situation, the access token should be checked.
// app/controllers/me_controller.rb

...
class MeController < ApplicationController
  def profile
    payload = decodeSignedJwtToken(getBearerToken()).first
    user = User.where(provider: payload["provider"], username: payload["username"]).first
    render json: user
  end

  def getBearerToken
    pattern = /^Bearer /
    request.authorization.gsub(pattern, '') if request.authorization
  end

  def decodeSignedJwtToken(token)
    JWT.decode(
      token,
      Rails.application.credentials.jwt_secret,
      true,
      { algorithm: 'HS256' }
    )
  end
end
Conclusion
The example app’s purpose is to show how PKCE flow works. So, some parts are missing. For example, the code verifier and code challenge should be generated in each authentication process, but not. The access token should be saved in both client and server apps and re-requested when the token is expired. The example app skips that as well.
Even though, the example app would help to understand how the PKCE flow works between React app, Rails app and Authorization endpoint.
References
Proof Key for Code Exchange
- RFC 7636: Proof Key for Code Exchange
- Authorization Code Flow with Proof Key for Code Exchange (PKCE)
- Authorization Code Flow with PKCE (OAuth) in a React application
- Twitter Documentation: Authentication
- Spotify for Developers: Authorization Code with PKCE Flow